Automated CodeCov reports with GitHub Actions
coverage reports to the CodeCov service

Introduction
CodeCov is an online service that allows you to generate free coverage reports for your repositories. Coverage reports can be created as part of a CI workflow. Uploading these results to the CodeCov service allows centralised tracking of code coverage trends, various interactive visuals and the all important coverage shield(!)
Intended Audience
Python developers who need to quickly get coverage reporting set up so they can get on with the rest of their work.
I have included screengrabs of things where possible. Please note that GitHub or CodeCov may change their interfaces at their discretion.
Requirements
- Install the following requirements, along with any other dependencies of the code you wish to report on:
requirements.txt
coverage
pytest- A GitHub account
- A repo with some code
Method
- Login to the CodeCov Service by accessing the button at the top right of the screen. I suggest selecting the GitHub option for login. You will be asked to authenticate with GitHub if you do so.
- If you don’t have one, you will be prompted about the type of account that you need. I would suggest for most users and GitHub organisation members, a personal free account is fine.
- Search for the repo that you would like coverage reports for. If the repo does not appear, try clicking refresh. If the repo belongs to an organisation, click on the drop-down menu to the top-left of the screen, highlighted in red in the image below.

Some organisations may not allow CodeCov global access to its repositories. If this is the case, you will need to ask an organisation owner to check a box allowing CodeCov read & write access to the repo. This is done from the organisation’s homepage > Settings > Third Party Access > GitHub Apps > Codecov > Configure > Repository access > Only select repositories > Select repositories dropdown.
- Once found, click on the blue configure button. There are various options on the next screen for selecting your CI provider and coverage source. Ignore them and locate the
CODECOV_TOKENvalue. Copy it to your clipboard.
CODECOV_TOKEN (Click to expand)
You may notice that CodeCov have included a banner at the top of their login screen - “You must now upload using a token.” How lovely of them. It used to be the case that open repos did not require a token. Rather quietly sometime this year they changed this behaviour without making it clear in their docs. This was incredibly helpful when going through this setup live with a cohort of graduate data scientists.
Anyway there’s a banner now, so I’ll forgive them.
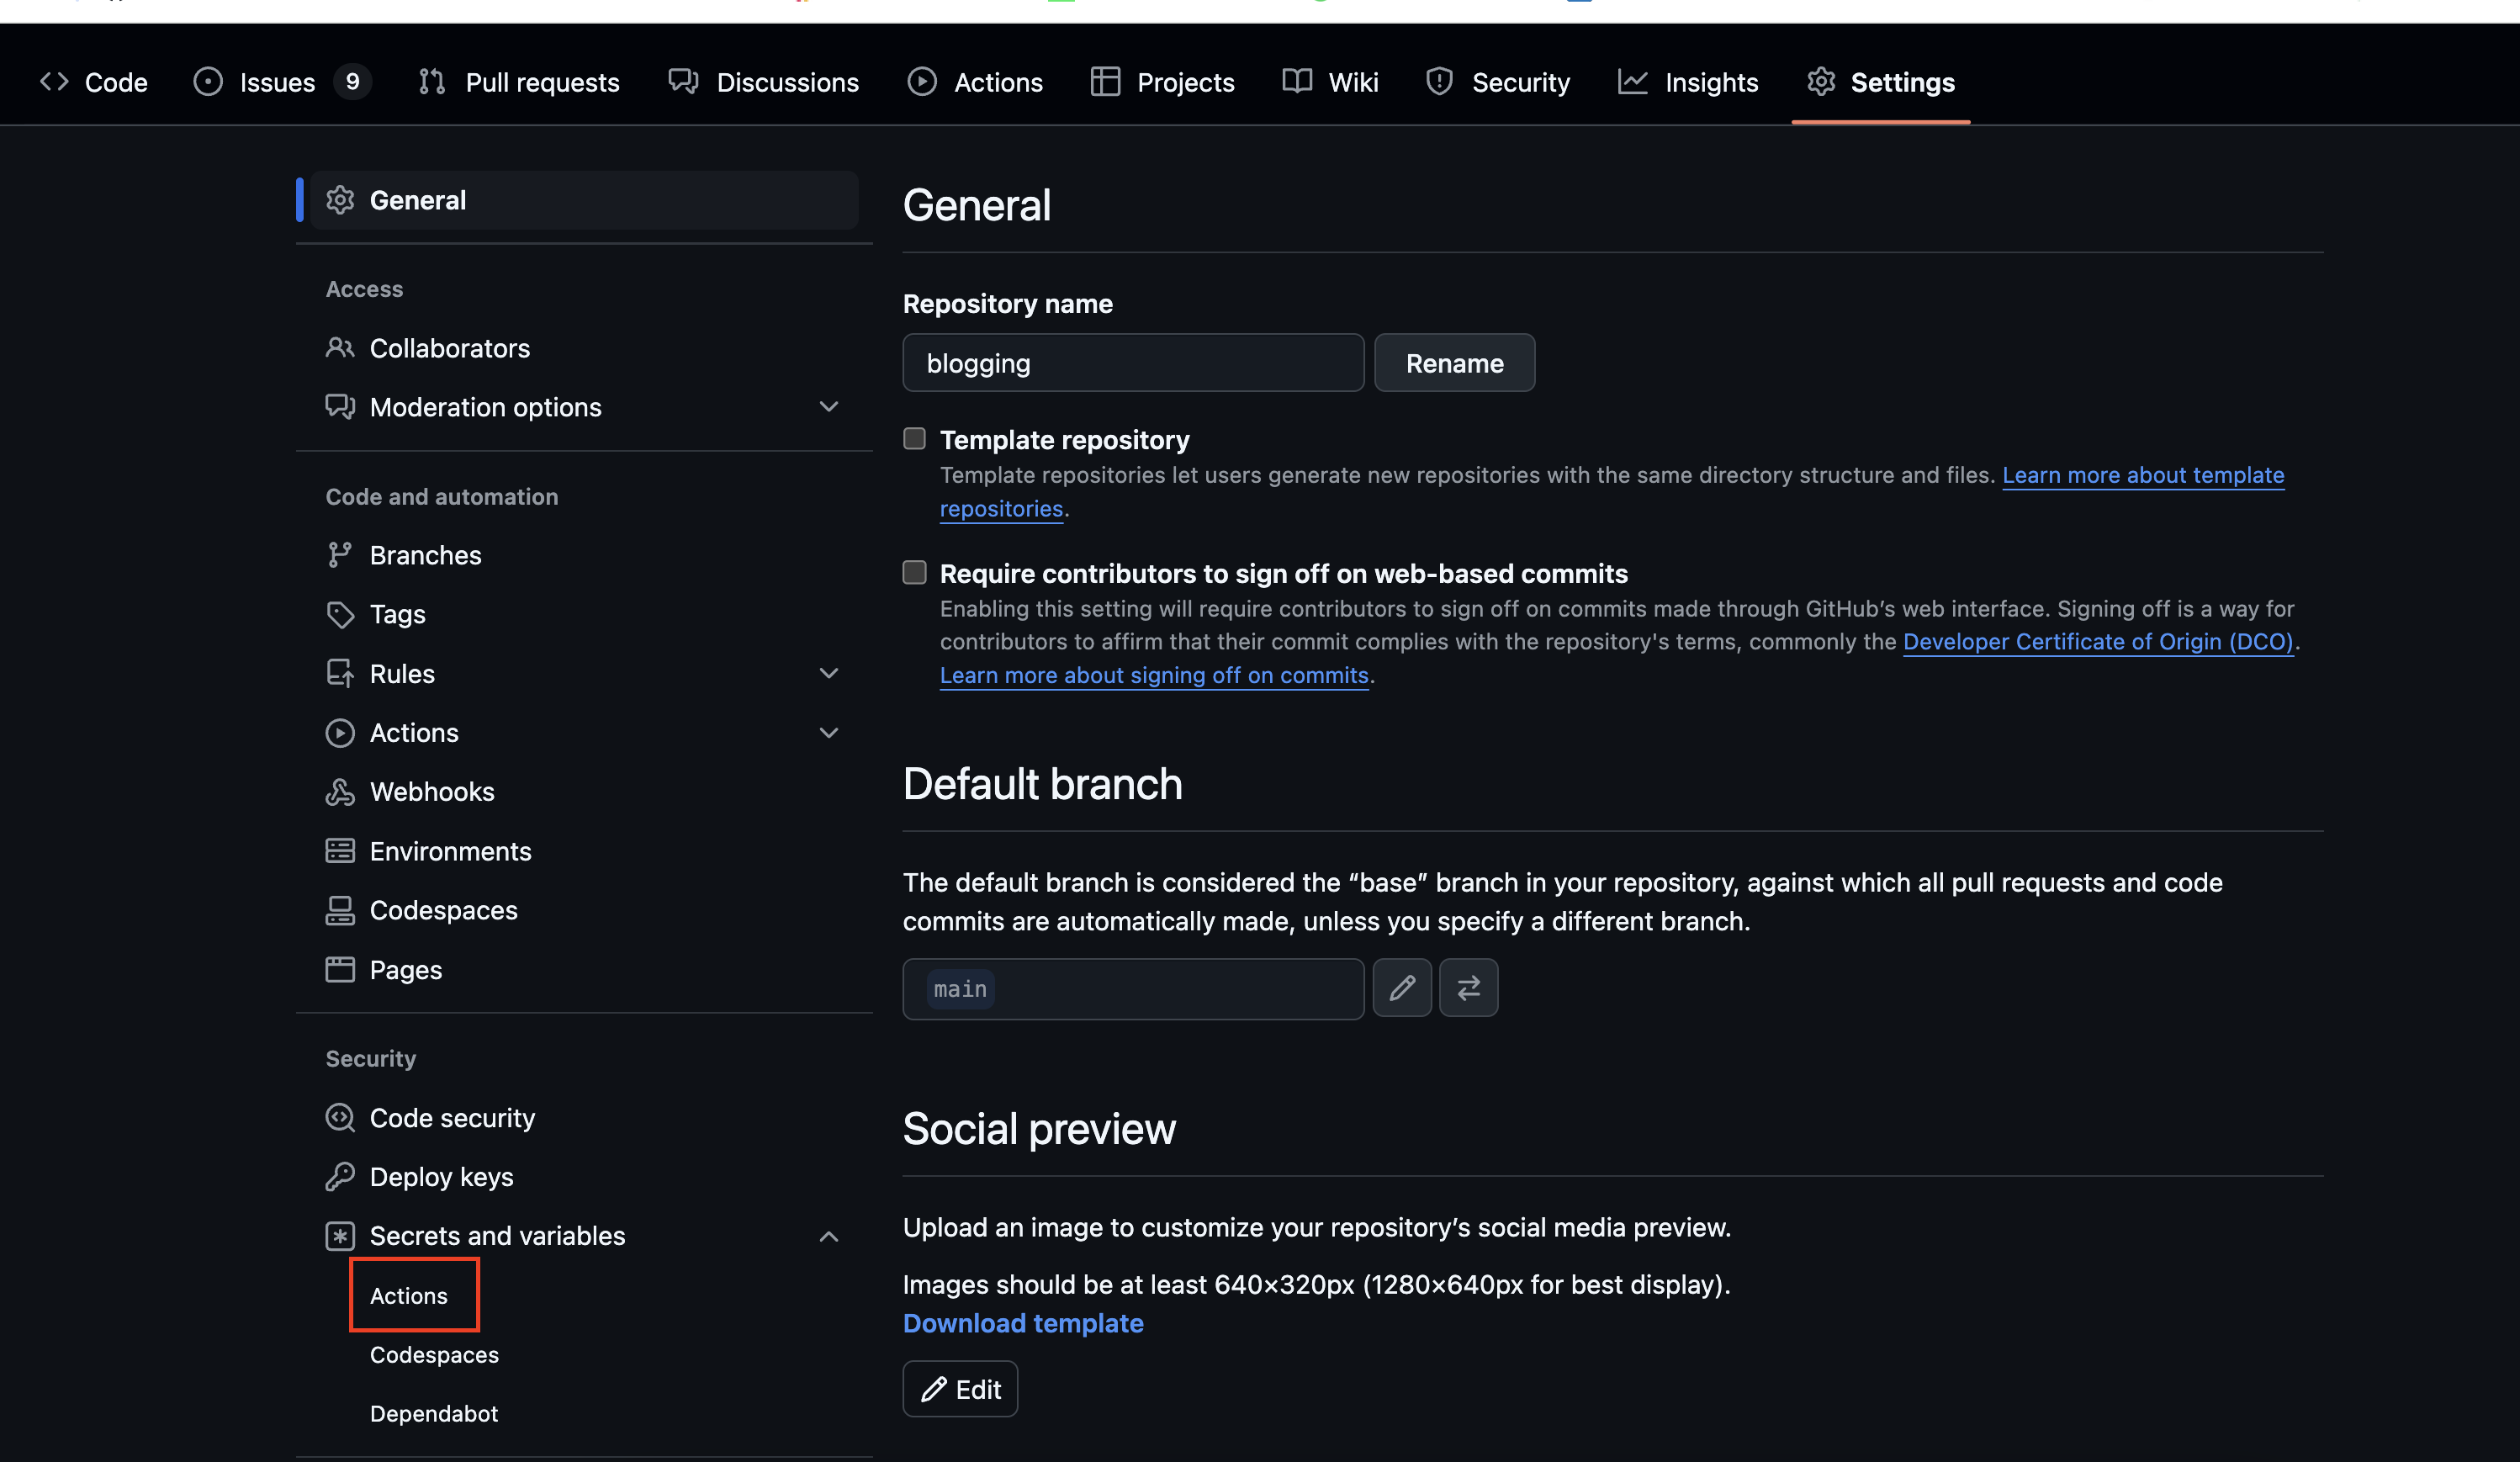
- Keep your CodeCov page open in a tab. Now go to your repo page in a new tab. Settings > Security > Secrets and variables > Actions
- On the next page, under Repository secrets, click “New repository secret”, ensure
Nameis equal toCODECOV_TOKEN, paste your clipboard credential into theSecretfield then click “Add secret”. - Add a workflow file to your repository under
.github/workflows. - Save the following code snippet into the file:
.github/workflows/codecov-upload.yaml
name: MacOS Full Test Suite and Coverage
on:
push:
pull_request:
branches: ["main"]
jobs:
build:
name: Full & Coverage
runs-on: ubuntu-latest
timeout-minutes: 15
strategy:
fail-fast: false
steps:
- uses: actions/checkout@11bd71901bbe5b1630ceea73d27597364c9af683
- name: Set up Python 12
uses: actions/setup-python@0b93645e9fea7318ecaed2b359559ac225c90a2b
with:
cache: 'pip'
python-version: 3.12
- name: Install dependencies
run: |
python -m pip install --upgrade pip
pip install -r requirements.txt
- name: Generate Coverage Report
run: |
coverage run -m pytest
coverage report
coverage xml
- name: Upload coverage report to CodeCov
uses: codecov/codecov-action@015f24e6818733317a2da2edd6290ab26238649a
with:
file: ./coverage.xml
flags: unittests
verbose: true
token: ${{ secrets.CODECOV_TOKEN }}
fail_ci_if_error: true- 1
- Adjust to suit your needs. Note that you can select different branch coverage reports in CodeCov by selecting “Branch Context”.
- 2
- Ubuntu builds are fast, but you may wish to select a different os to match the supported platform of your package / codebase.
- 3
- Not necessary, but a good idea for private repos, where organisations pay for build time.
- 4
- SHA for v4.2.2
- 5
- SHA for v5.3.0
- 6
- Not neccesary, but speeds up pip dependencies by using a cache.
- 7
- Not necessary, but a good sanity check - did we actually create a coverage report? Did it contain any coverage data? This command will print the coverage report so that you can inspect it in your Action logs.
- 8
- SHA for v5.0.7
It’s more secure. Ensure that you keep these versions updated to mitigate the risk of malicious attacks.
- Commit and push the new workflow file to your remote. Go and watch the Action to ensure it prints your coverage report in the logs and uploads to the CodeCov service without complaint.
- Go back to your tab with the CodeCov site. You may need to refresh or click the “Resync” button, but your newly configured repo should now display coverage results. Click on Configuration > Badges & Graphs to get the links to your shiny new coverage shield.
fin!